🖋️ Creating custom shapes with the pen tool
Do you ever feel constrained by the available images or assets to represent your ideas? Or you find the perfect image to communicate your ideas, but you just want to change one small part of it or riff on it to fit your idea better?
Some of our new AI tools can help make images, but there still might be times where you simply want to draw out an idea to create a wireframe, shape, or simple illustration. And yet, digital drawing tools can be intimidating to use, which means that new ideas might be stuck in text or using visuals that don’t fully represent our innovative ideas.
It’s time to break out of the mold to fully express your ideas, and it’s as easy as learning the basics of the pen tool in Figma.
The pen tool in Figma allows you to draw vectors by connecting lines into a custom shape. It can be a little intimidating at first, but I promise, it’s a super simple, powerful tool once you start getting comfortable with it.
Why use the pen tool?
Anytime you want a custom shape or have an image that you would like to recreate to customize, the pen tool is a good option.
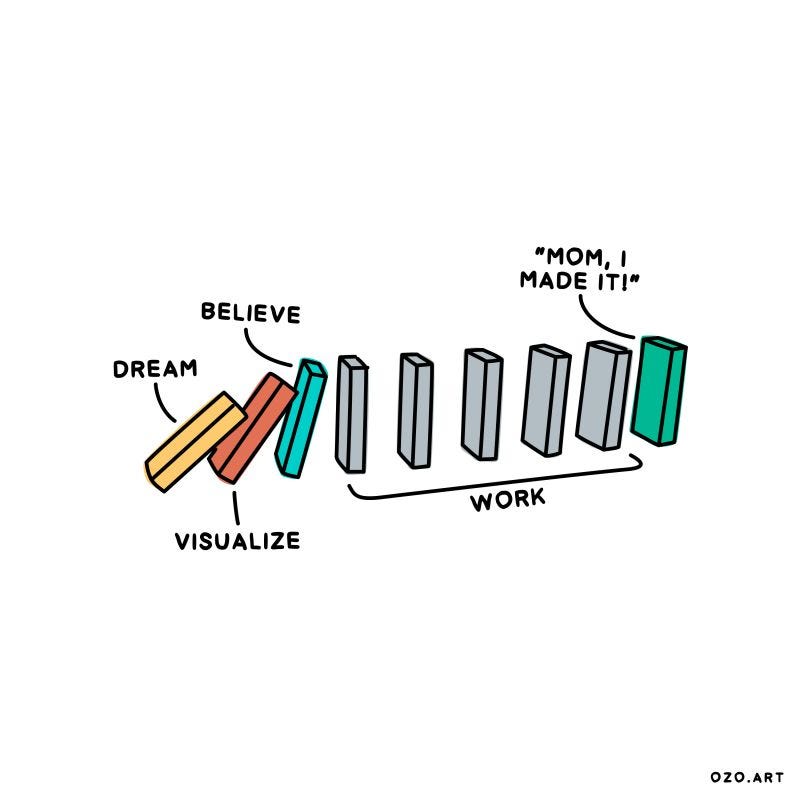
For example for my Config talk last week, I had a concept I wanted to riff on from an original image by Janis Ozolins.
I didn’t have Janis’ source file, so I pulled out the pen tool to recreate the dominos, and in ~15 minutes, I had vectors drawn that I could then color and manipulate into various configurations. Below you can see the original image and the ways we riffed on it as we developed our slides.
Here’s a quick video where I explain how I used the pen tool to riff on this visual and why this can be so powerful for your stories.
How to use the pen tool
To get started with the pen tool, select it from the toolbar, shown below in the current and redesigned Figma UI:
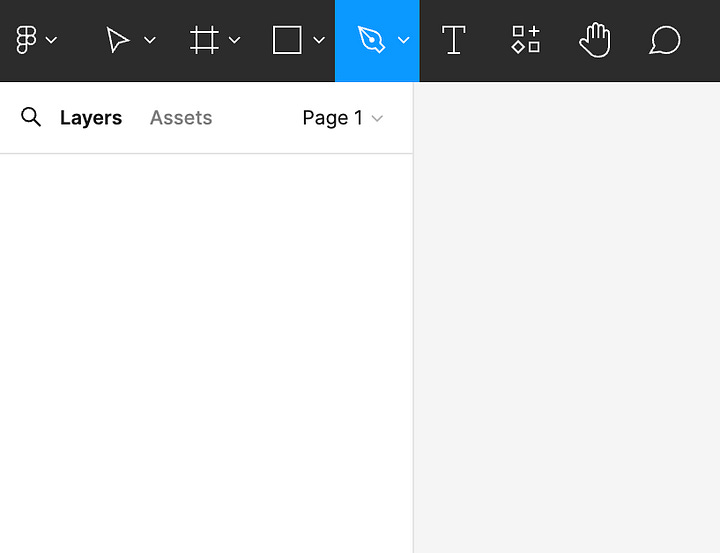
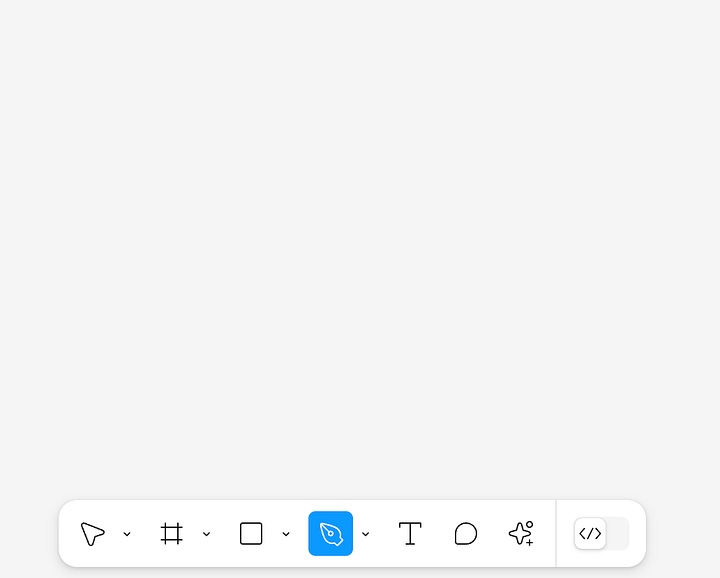
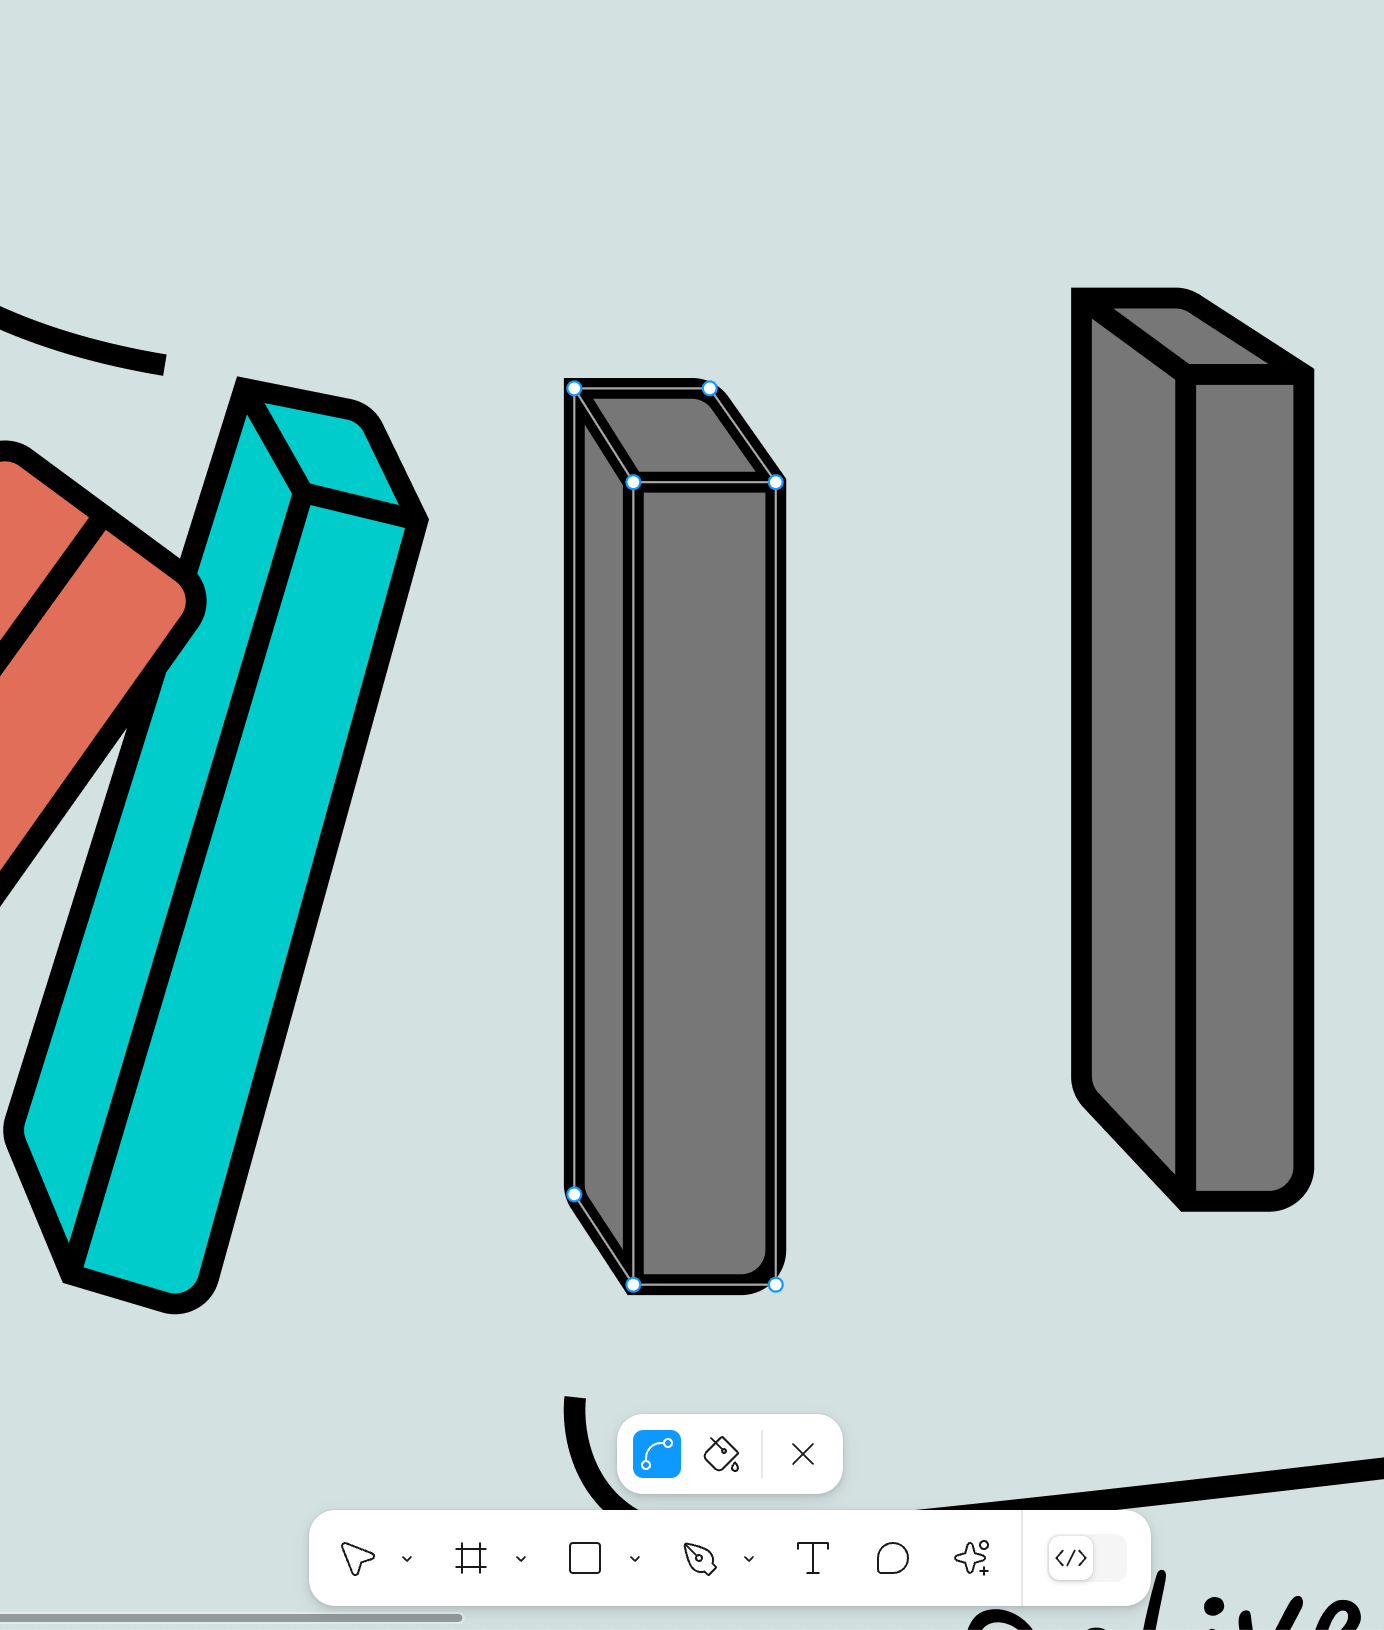
Once you have selected the pen tool, click one point, and then click another point to draw a line between them. As a rule of thumb, add a new point for every change in direction in drawing your shape. To make any of the lines curve, hold when clicking to bring out the curve lines and then you can adjust the level of curve after completing the shape.
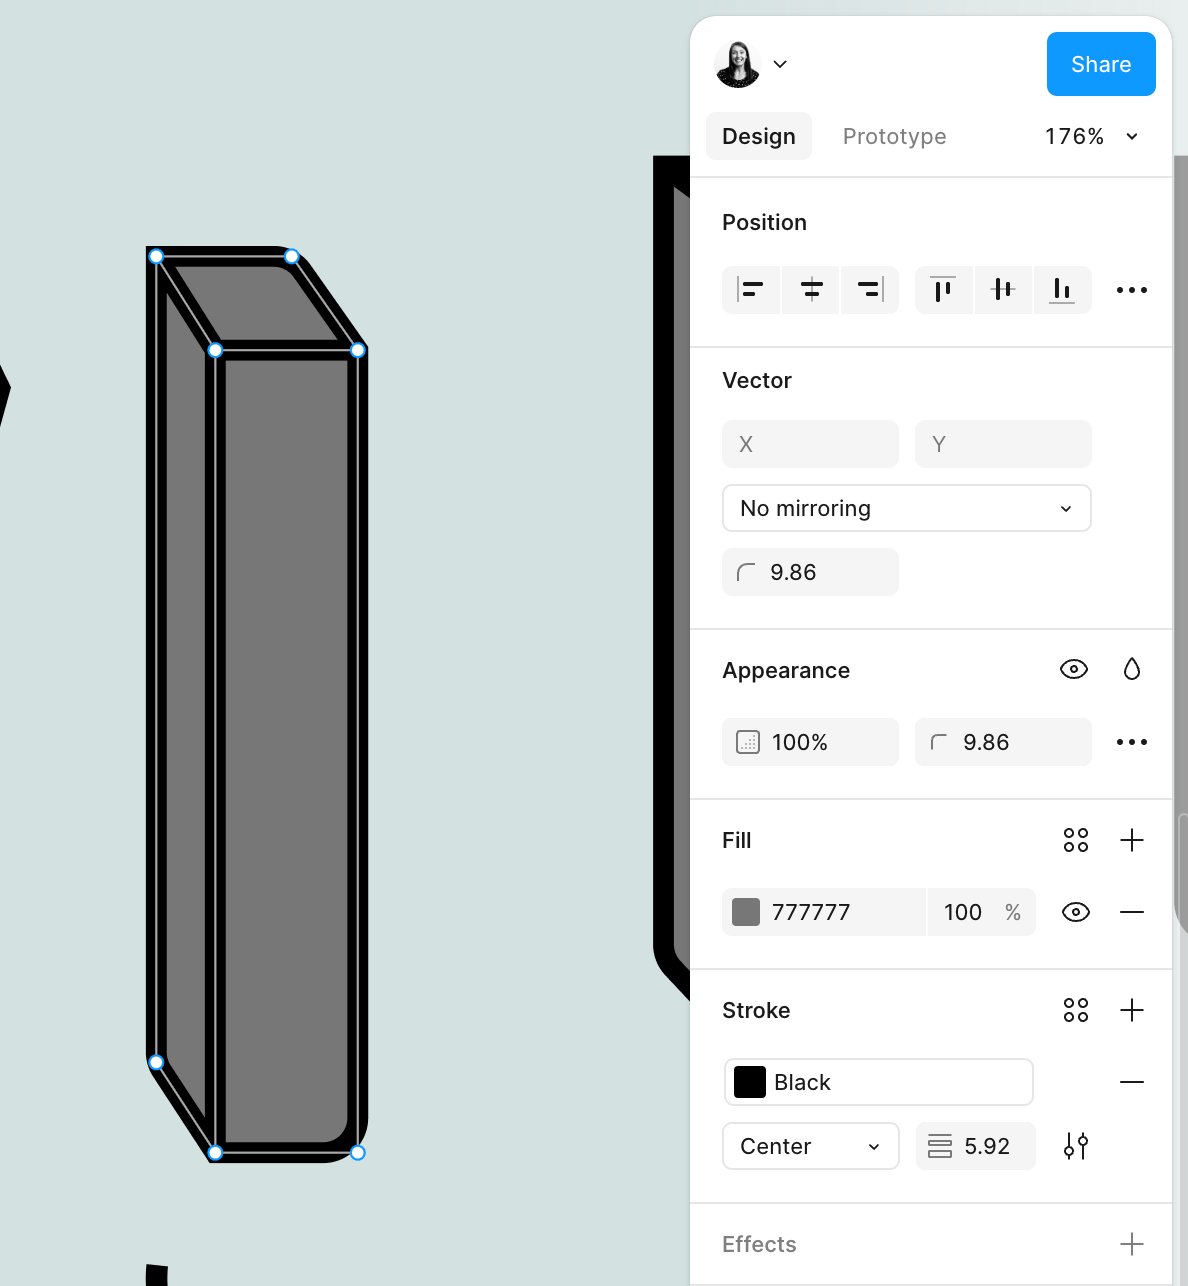
Once you are done drawing, hit Esc to close out of the pen tool and then you can select your vector to edit the properties like line weight, fill, etc.
If you want to edit the lines at any point, double click into the vector, or select the pen tool again to edit your existing lines.
My biggest recommendation when starting with the pen tool is to find an image that’s close to what you want to draw, add it to the canvas, and start tracing it with the pen tool. Once you have the image drawn, you can remove the source graphic to customize to your heart’s content!
Are you ready? Grab the happy pencil below (or another of your favorite images) and try creating it with the pen tool in Figma. Add your creation to the comments!
✍️ Getting started with the pen tool
There are many experts who have explained their methods for getting started with the pen tool in Figma. Here are some of my favorite resources:
Working with vector tools: This was created for our EDU community, but it applies to anyone getting started. Miggi from Figgi is one of the most skilled designers and educators I know, and in this webinar recording, he makes vector drawing approachable and breaks it down from basics through advanced concepts.
Master the pen tool in 6 minutes: This short video from Tim does a great job of synthesizing the basics to help you get drawing and editing your vector shapes.
Using vector networks in Figma: If you prefer a written format, this Figma Learn article provides a good overview of how to use the pen tool to create custom shapes and icons including a short video overview.
📏 Design principles: Rule of thirds
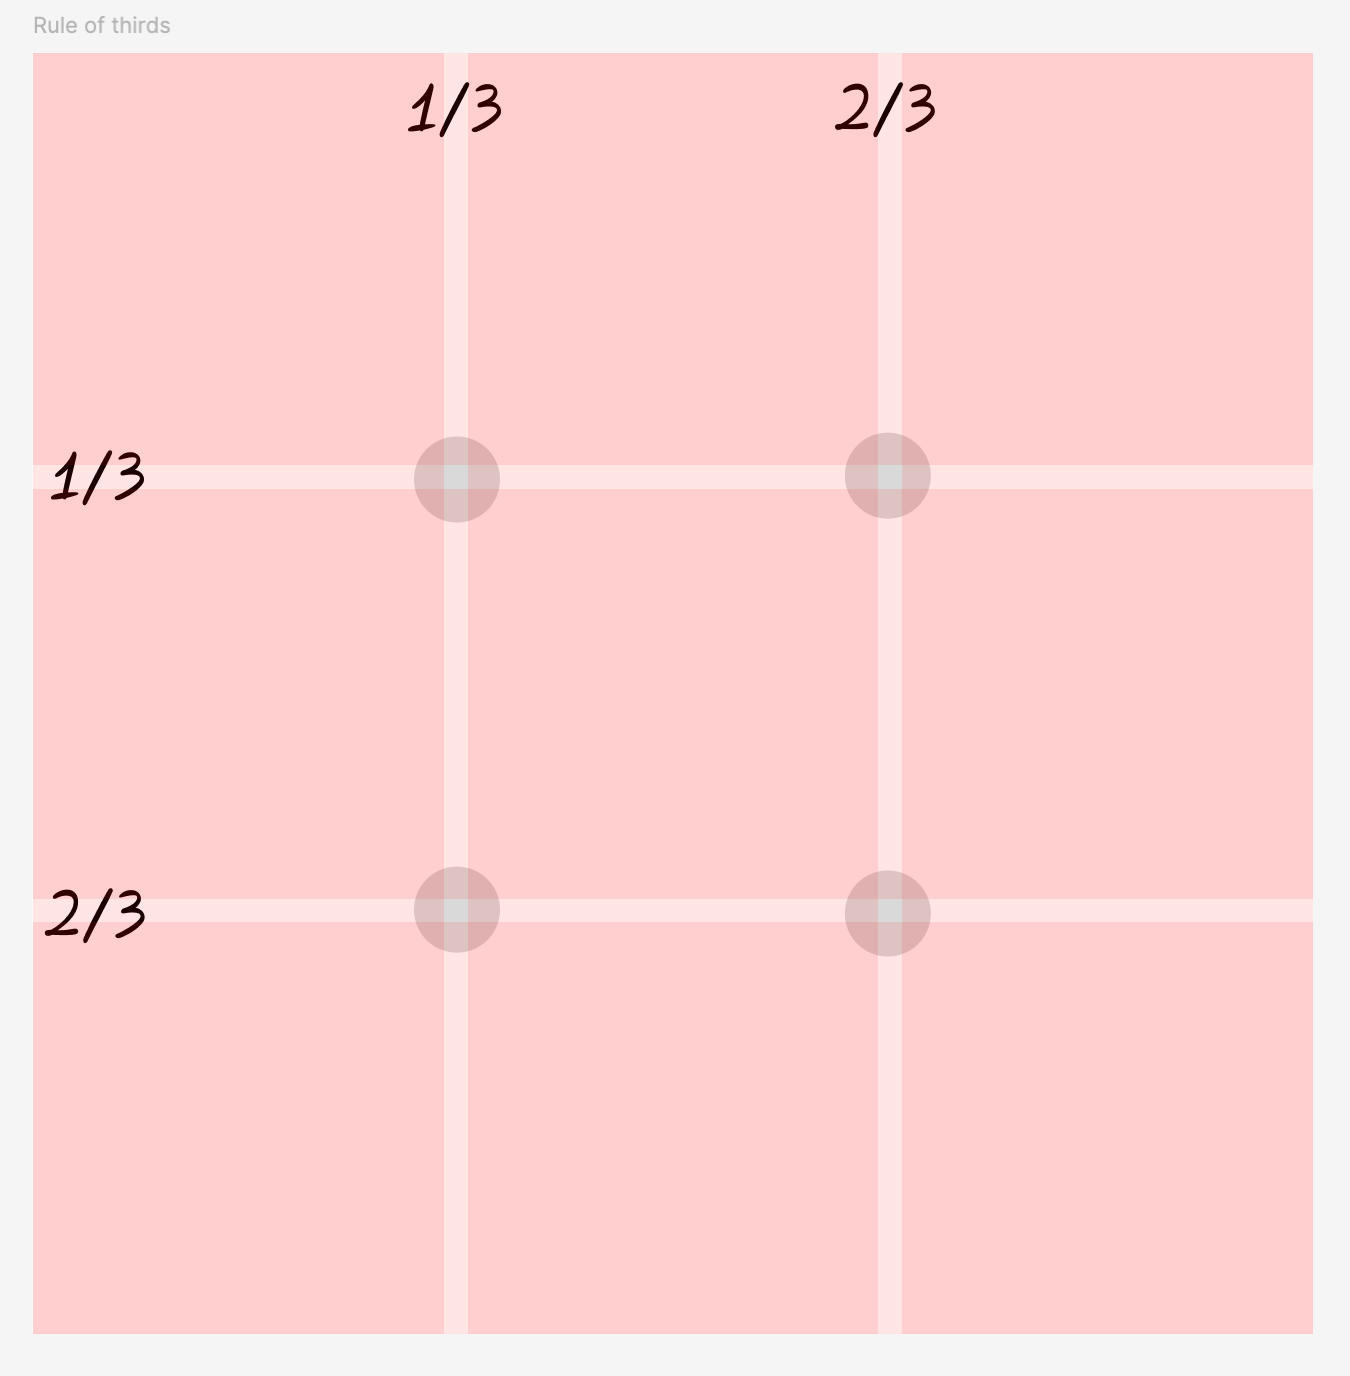
One common design technique is the rule of thirds, a guiding principle for the composition and proportions of images.
The technique suggests you should align your subject using guidelines that divide your composition into thirds. The intersection points of these guidelines will naturally be a focal point in your composition, so it helps create balance if you align your subject to these points.
You can also use the rule of thirds to position details of your drawing within the larger composition, for example positioning a face on the lower third of a head or a shape.
Read more about the rule of thirds here.
💡 Bonus: You can use 3 column / 3 row layout grids in Figma to help apply this rule. Read about setting up layout grids in Figma here.
📚 Developing our design skills
As you start drawing with the pen tool, check out these resources to up-level your drawing skills:
Explain ideas visually: I am a huge fan of Janis’ course for learning how to think about expressing your ideas more visually. This was recommended by a friend and fellow content creator, Aron Korenbilt, and the course even exceeded the high expectations Aron set. It changed the way I thought about sharing my ideas and provided tangible tips on how to approach it. He also explains how he creates his visuals in Figma with the pen tool and provides some templates for getting started.
Bonus: I’ll be chatting with Janis about bringing these ideas to Figma Slides in two weeks. Come learn with us here
Draw adorable: As part of my Q3 focus on play, I’m dabbling with drawing more. I recently grabbed a copy of Carlianne’s How to Draw Adorable and I’m digging the format and the content. There’s so much to explore, and it’s worth a read if you want to try your own hand at drawing adorable characters.
Graphic Design Crash Course: This video teaches you graphic design basics using the drawing tools in Figma over the course of 5 mini projects in 30 minutes.
👋🏻 Meet our makers: Jerry
This week, we get to meet Jerry Wu, an Engineer on the BigJam team. He’s always been a maker at heart, and I was so inspired seeing the many things he’s made!
Making in Figma
Jerry first started using Figma as an engineer reviewing designs at Microsoft. He’s since created his own personal design files for resume reviews, icons, and more.
Advice for getting started
Jerry encourages us to start with the problem and not to be afraid to try new things that are “bad” at first:
It's really easy to compare yourself to others and how good other people are and to shy away from trying new things. But I think it's important to remember that you have to start somewhere, and it's okay to be bad.
It's perfectly okay to be bad. Just keep at it. And eventually you'll look back and you'll be amazed at how far you came.
- Jerry Wu, Engineer @ Figma
Thanks, Jerry, and cheers to trying new things!


